
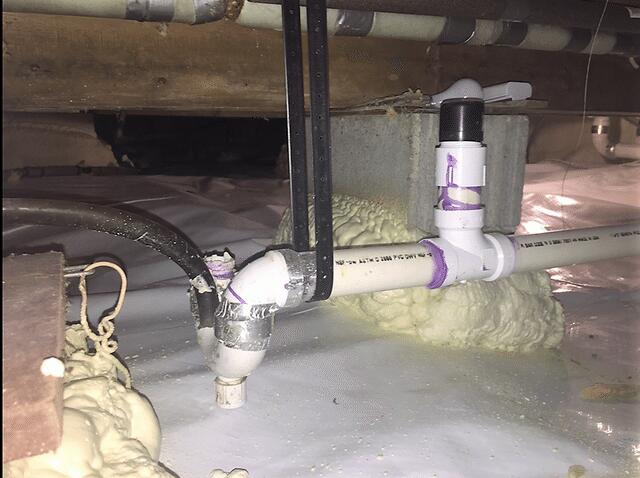
Cleanspace
Cleanspace installed on the crawlspace floor around the fixtures.
Spray foam insulation
Spray foam was installed to seal any gaps.
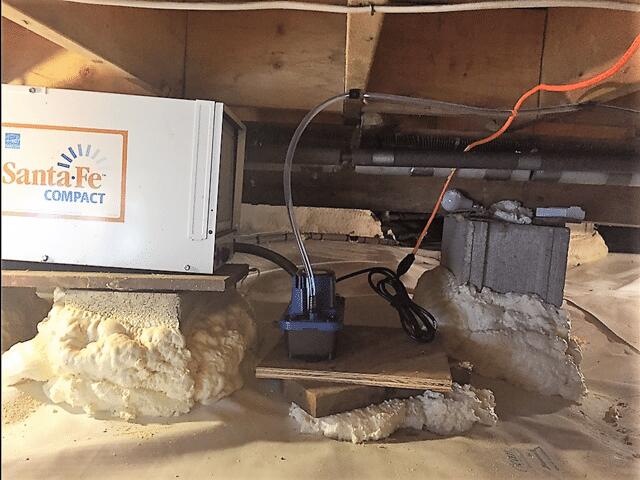
Another View
Another view of the cleanspace liner.
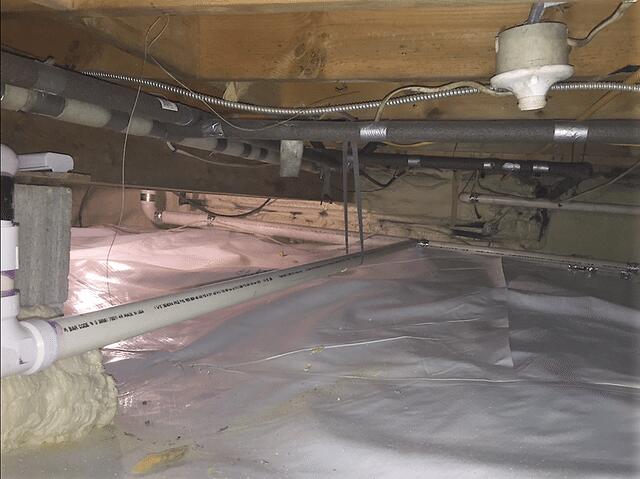
Moisture barrier
Cleanspace keeps moisture out of the house.
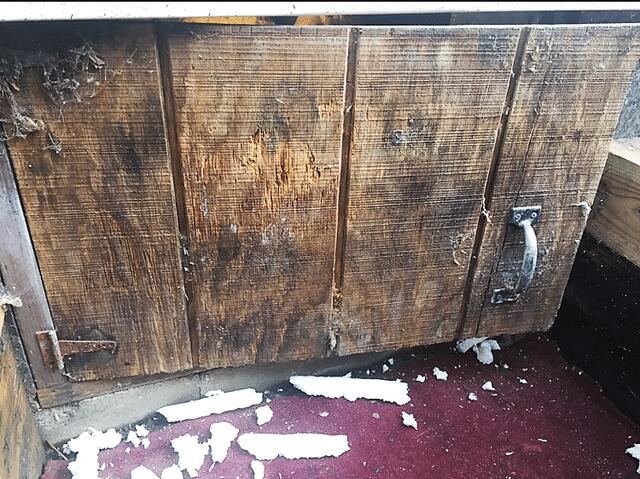
Old Crawlspace Door
Moldy and dirty crawlspace door prior to installation.
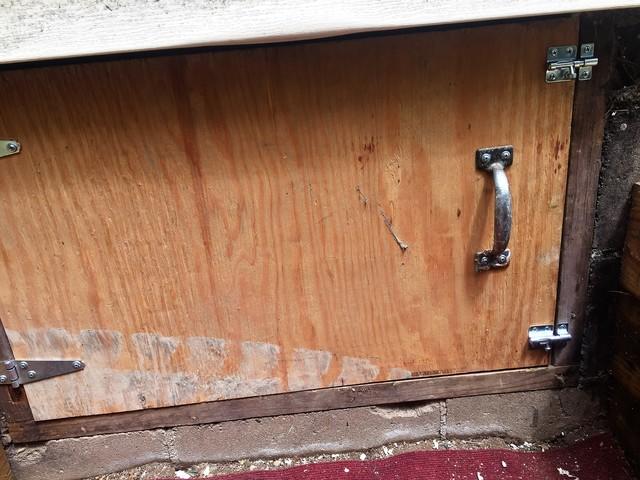
New Crawlspace Door
Mold-free crawlspace door after installation.
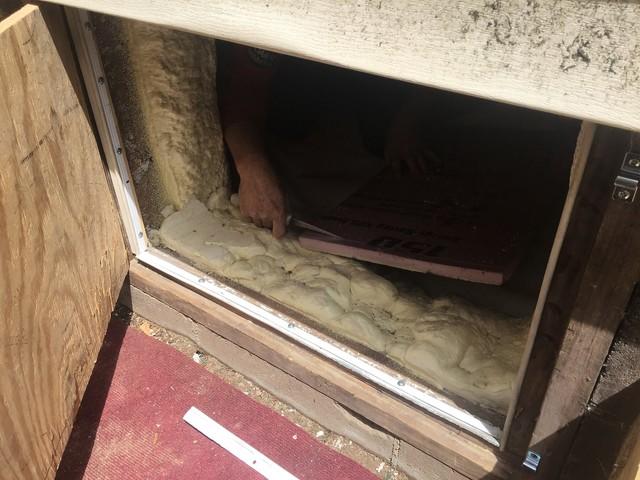
Sealing the crawlspace door
The door is getting some foam board added along with being sealed with caulk to prevent air flow.
